When developing native iOS apps, you should aim to follow Apple’s human interface guidelines at all times. This has become much easier which the introduction of SwiftUI which provides a common user interface framework for all Apple devices.
By sticking to SwiftUI, you will be able to target multiple devices without having to create (much) device-specific UI logic. For example, iPhone code will mostly work on a Vision Pro. However, there will always be device-specific quirks that you will need to programme around. More on that later.
For this post, I am going to build upon the WWDC Wishlist app presented in a previous post that introduced SwiftUI and App Intents. The code for that app is available in Github.
Adding a native build target
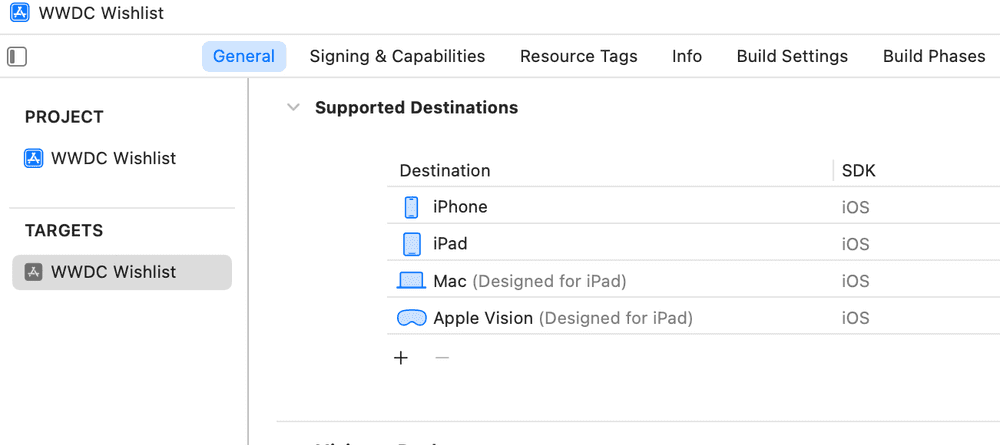
When building a standard iOS application in Xcode 15, you will be presented with a list of 4 target platforms: iPhone, iPad, Mac (Designed for iPad), and Apple Vision (Designed for iPad). As the names suggest, the 'Mac (Designed for iPad)' and 'Apple Vision (Designed for iPad)' options build non-native iPad versions of the app that run on macOS and visionOS respectively.
Here’s how these options look in Xcode 15 when building our Wishlist app. We'll select the 'Apple Vision (Designed for iPad)' option.
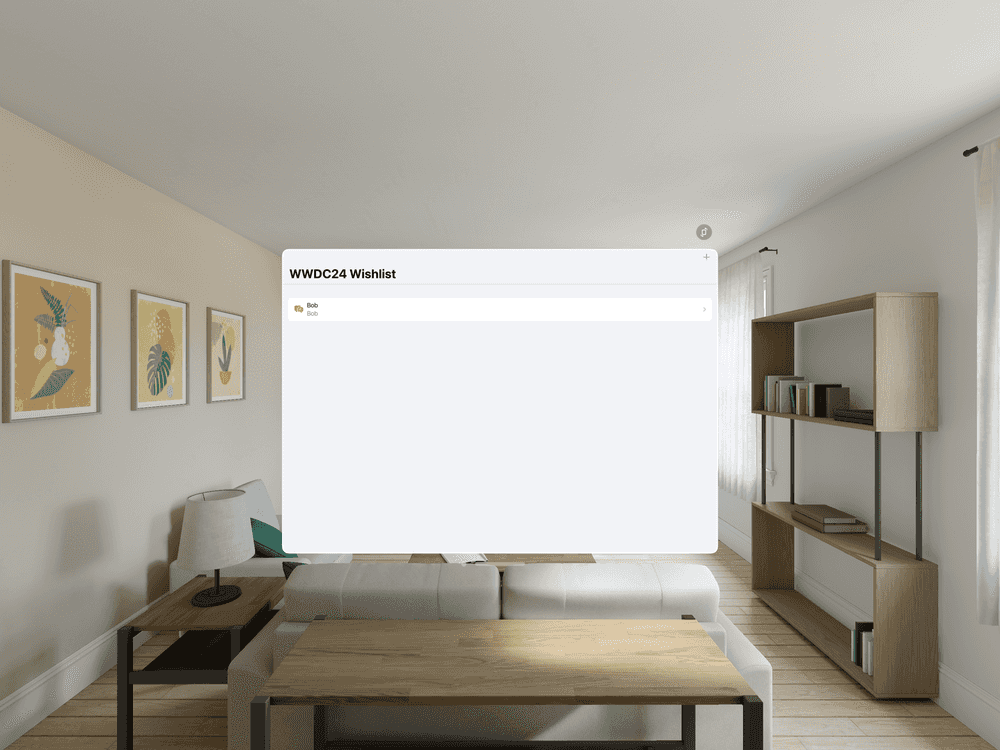
As can be seen, the generated application works on the Vision Pro, but it looks like an iPad app not a Vision Pro app. Let's fix that.
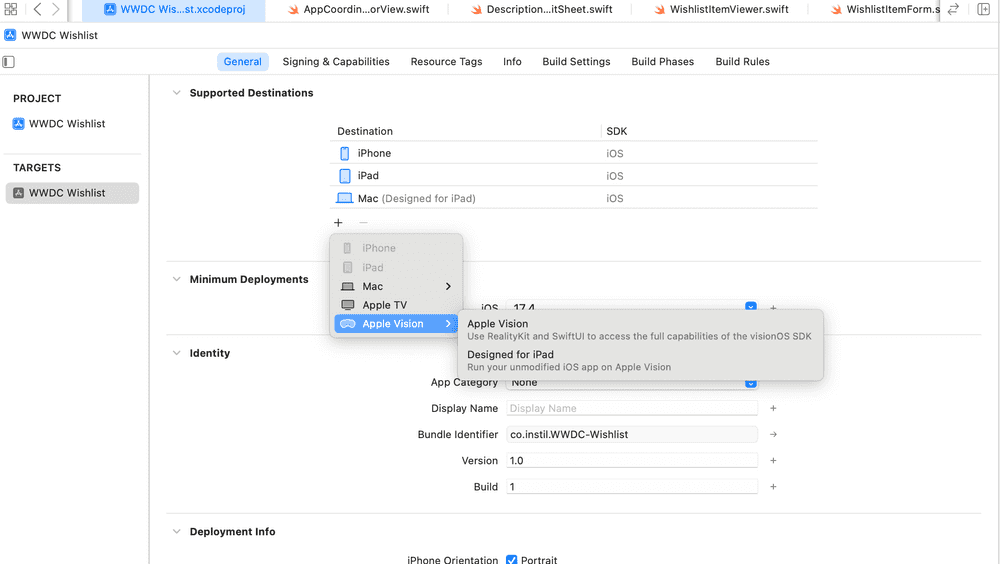
First, remove the 'Apple Vision (Designed for iPad)' target, then click the + button, select 'Apple Vision', and in the sub-menu, click 'Apple Vision' again.
Now let's run our app on the Apple Vision Pro again.
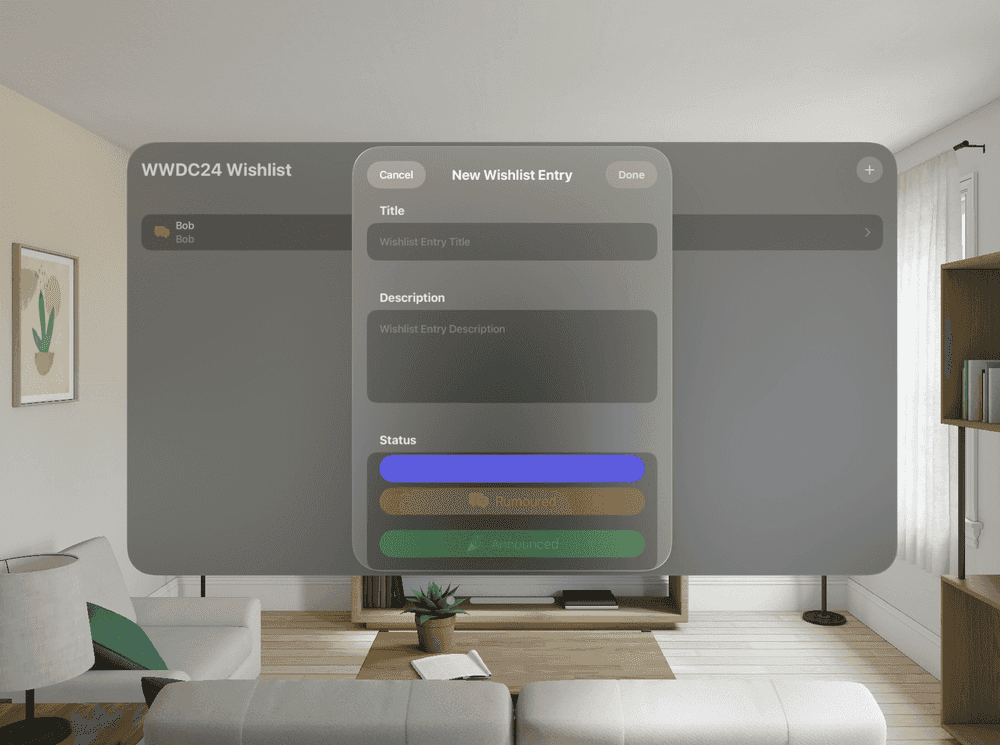
Et voila - the app now looks and feels like a native Vision Pro app. However, there is a problem: the Status buttons don’t look great.
The issue is that these buttons use colour and according to the Human Interface Guidelines for visionOS, we should “Use colour sparingly, especially on glass”. So, we need to provide a bespoke experience for visionOS.
Enter the compiler directive - a way to create platform-specific code. For example, the following directive will print "This is visionOS" when we run the visionOS target.
#if os(visionOS)
print("This is visionOS")
#else
print("This is not visionOS")
#endif
Redesigning components to be native with visionOS UI
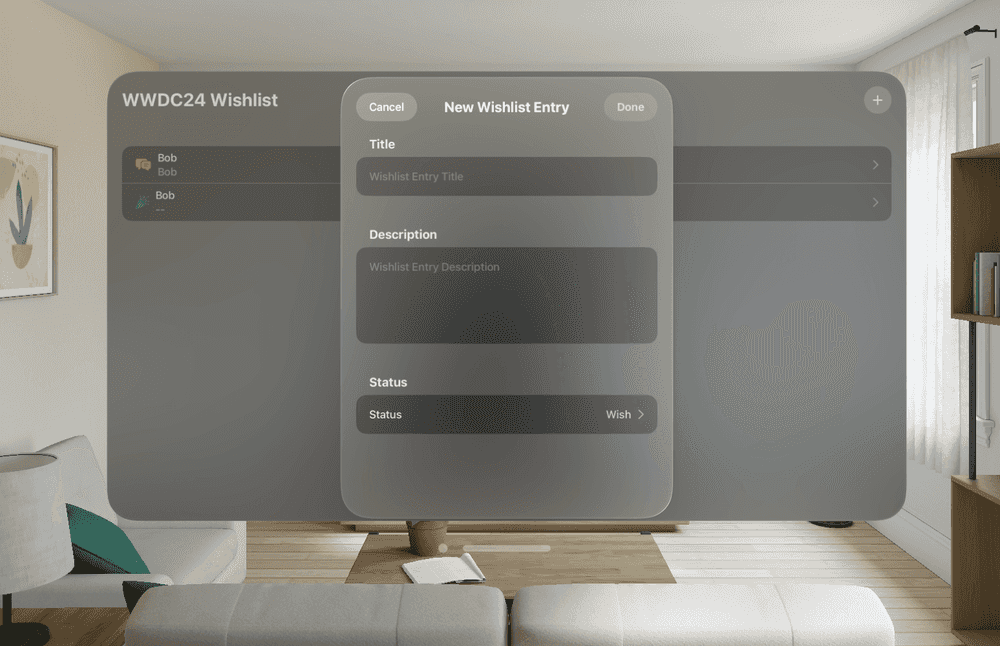
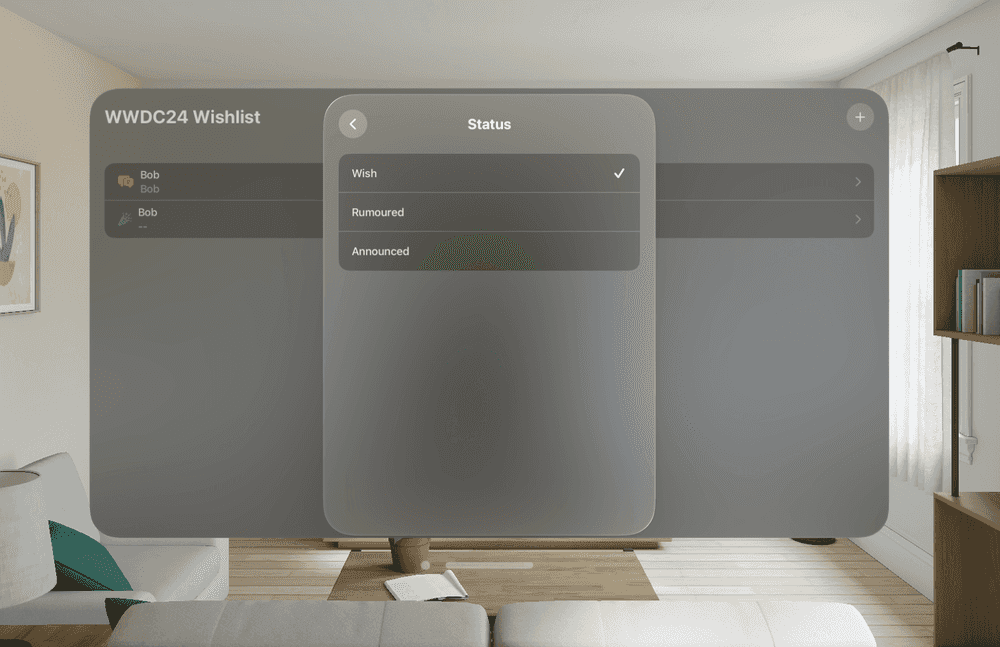
To fix the selector on visionOS, we are going to make use of SwiftUI's Picker control when running a visionOS version of the App.
var visionOSPicker: some View {
  Picker("Status", selection: $selectedItem.status) {
    ForEach(WishlistItemStatus.allCases, id: \.self) { status in
      Text(status.title)
    }
  }
  .pickerStyle(.navigationLink)
}
Using a compiler directive, we can switch between the two selectors depending on the current type of App target.
Section("Status") {
#if os(visionOS)
visionOSPicker
#else
ipadOSPicker
#endif
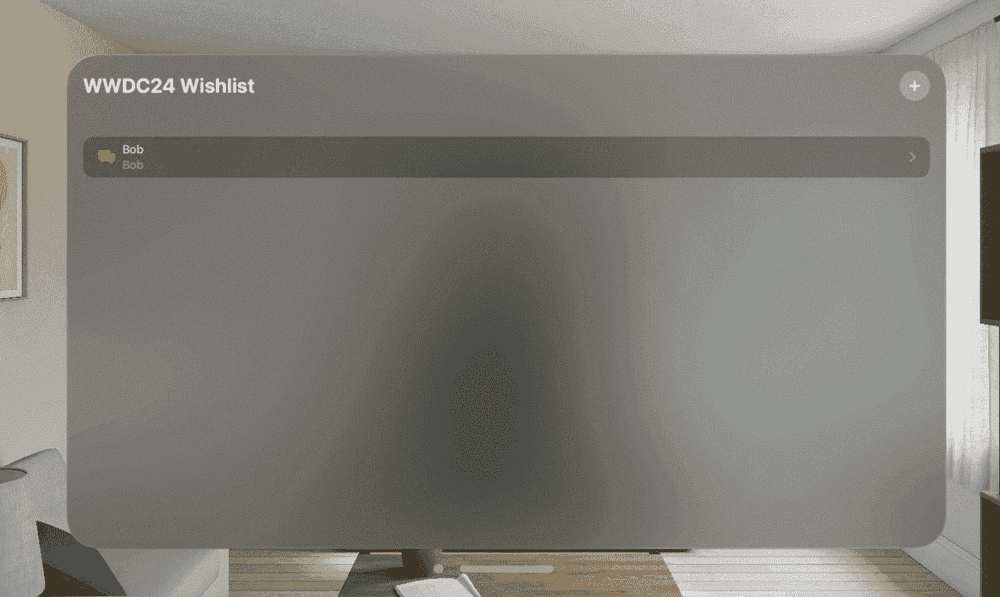
}Now, let's run the app and checkout our improvements.
Comparing the visionOS version of the app to the iOS SDK version, we see that:
- visionOS uses glass material effect by default.
- Buttons are slightly changed: A circle is added around the + button to make it easier for it to be selected through eye tracking.
- Due to there not being a status bar in visionOS, the title is now at the top of the screen rather than below a status bar reserved space.
Before - Vision Pro (Using iOS SDK)
After - Vision Pro (Using Apple Vision SDK)
Conclusion
When developing iOS apps, you should default to using SwiftUI for your UI code. Doing so will mean that you can maintain a single codebase no matter the number of platforms being targeted. Furthermore, through selective use of compiler directives, you can create platform-specific logic so that your apps maintain a native look and feel.
If you want to learn more, check out the Github project or (if you are looking for formal classroom training), our iOS course.